How to Set Up WP Ghost in Safe Mode in 3 Minutes – Quick Start Guide
June 17, 2024
This tutorial has moved to the new WP Ghost Knowledge Base where each feature is presented in detail.
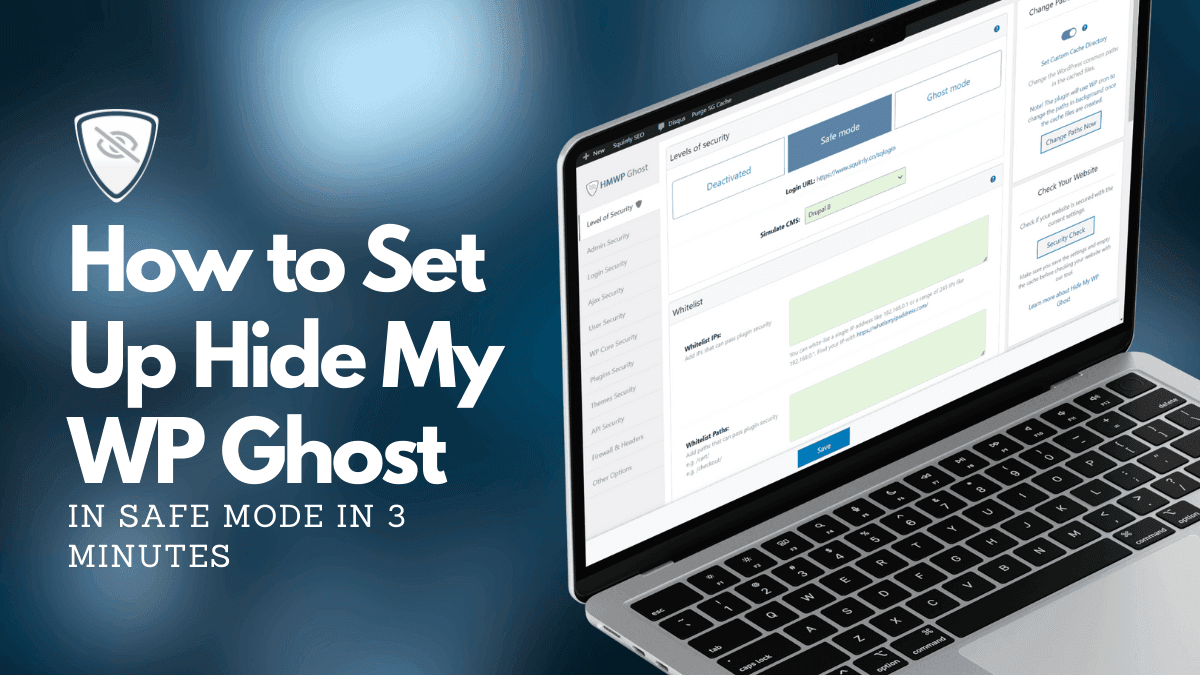
Set up WP Ghost in Safe Mode in under 3 minutes. Select Safe Mode, customize your login path, turn on the firewall and security headers, run the Frontend Test, and save your login URL and Safe URL for emergency recovery.
Watch the setup video
This video walks through the complete Safe Mode setup on an Apache server. On Nginx and IIS servers, additional configuration is needed after saving. See the Nginx Setup or IIS Setup guides for server-specific instructions.
Part 1 – Select Safe Mode and save
1. Go to WP Ghost > Change Paths.
2. Select Safe Mode. A popup shows all the predefined paths that Safe Mode sets. Read the information, then click Continue.
3. Click Save.
4. Run the Frontend Test.
5. Save your new login URL. Write it down or store it in a password manager. This is how you access your site from now on.
6. Save your Safe URL. You need this if you ever get locked out. Never share it publicly.
7. If the login test is successful, click “Yes, it’s working.”
You can also use a security preset instead of configuring manually. Go to WP Ghost > Change Paths > Level of Security and, under Preset Security, load the Safe Mode + Firewall + Compatibility Settings preset for a one-click configuration that works with most sites including WooCommerce. See the Security Presets guide for all four preset options.
Part 2 – Recommended path settings
After activating Safe Mode, customize the individual path settings for stronger protection. Here are the recommended settings for each section in WP Ghost > Change Paths.
Admin Security
Custom Admin Path – leave as is. Hide “wp-admin” – switch ON. Hide “wp-admin” From Non-Admin Users – leave OFF unless you want logged-in customers and subscribers to get a 404 when they type /wp-admin.
Login Security
Custom Login Path – customize this to something unique and hard to guess. Hide “wp-login.php” – switch ON. Hide “login” Path – switch ON. Leave Lost Password, Register, and Logout paths at their defaults.
Ajax Security
Custom admin-ajax Path – customize to a unique name. Hide wp-admin from Ajax URL – switch ON. Change Paths in Ajax Calls – switch ON.
User Security
Custom Author Path – leave as is. Hide Author ID URL – switch ON (prevents username enumeration through ?author=1 URLs).
WP Core Security
Leave wp-content, wp-includes, uploads, and comment paths at their defaults. Switch ON: Hide WordPress Common Paths and Hide WordPress Common Files. Add wp-comments-post.php to the Hide Common Files list. Leave Disable Directory Browsing OFF (your hosting may handle this already).
Plugins Security
Leave Custom plugins Path at default. Switch ON: Hide Plugin Names and Hide WordPress Old Plugins Path. Leave Hide All The Plugins OFF and Show Advanced Options OFF.
Themes Security
Leave Custom themes Path at default. Switch ON: Hide Theme Names and Hide WordPress Old Themes Path. Leave Advanced Options OFF.
API Security
Leave Custom wp-json Path at default. Switch ON: Hide REST API URL link, Disable XML-RPC Access, and Disable RSD Endpoint from XML-RPC. Leave Disable REST API access OFF (many plugins and the block editor require REST API access).
Part 3 – Enable firewall and security headers
Next, go to WP Ghost > Firewall. The security headers are on the Header Security tab of the same screen.
Switch ON: Add Security Headers against XSS and Injection Attacks. Keep the default headers (Strict-Transport-Security and Content-Security-Policy). If X-XSS-Protection is still in the list from an older version, remove it with the X next to its name: browsers have deprecated it. Switch ON: Remove Unsafe Headers, Block Theme Detectors Crawlers, and Firewall Against Script Injection.
For Firewall Strength, pick 2026 Ghost Firewall (recommended). See the Firewall Security tutorial for full configuration details. For security headers, see Security Headers.
Part 4 – Run the Frontend Test
After saving all your customized settings, run a new Frontend Test to verify everything works.
1. Click Save in WP Ghost > Change Paths.
2. Click Frontend Test.
3. Save your new login URL (if you changed it in this session).
4. Save your Safe URL again.
5. If the test is successful, click “Yes, it’s working.”
Part 5 – Verify your changes
Open your site in an incognito browser window (make sure you are logged out) and verify the following:
Your site loads normally with all styles and images intact. Right-click and view the page source. You should see your custom paths instead of /wp-content/, /wp-includes/, and /wp-admin/. Try accessing /wp-login.php directly. It should return a 404 error. Access your new custom login URL. The login form should load correctly.
If anything looks wrong, use the Safe URL to bypass path security and access the default login page, then adjust your settings. See the emergency disable guide for more recovery options. If styles or images are missing, or a custom path returns 404, WP Ghost Premium 9.0.13 or later can check it: press Start Diagnosis in Ghost Doctor on the Level of Security page. It finds which path your server stopped serving and repairs it.
Next steps after Safe Mode setup
Safe Mode is a strong starting point. To maximize your hack prevention, add these layers on top of your path security:
Enable Brute Force Protection with reCAPTCHA to protect your login form from automated attacks. Enable Two-Factor Authentication (available as Code, Email, or Passkey) to add a second verification step. Run the Security Check to find and fix other issues such as file permissions, the database prefix, weak usernames, and SALT keys.
For the complete configuration reference, see the WP Ghost Settings Best Practice guide.
Frequently asked questions
What is the difference between Safe Mode and Ghost Mode?
Safe Mode changes the login, plugins, themes and uploads paths and hides wp-admin, but keeps the wp-admin and admin-ajax.php paths at their defaults for compatibility. Ghost Mode (Premium) also changes wp-admin to ghost-admin and admin-ajax.php to ajax-call. Safe Mode is the recommended first setup.
Can I use a security preset instead of configuring manually?
Yes. WP Ghost Premium offers four security presets that configure everything with one click. The Safe Mode + Firewall + Compatibility Settings preset is recommended for most sites. Go to WP Ghost > Change Paths > Level of Security and choose your preset under Preset Security. Loading a preset overwrites all current settings, so back up first.
Does this work on Nginx servers?
Yes, but Nginx requires additional configuration. After saving your settings, you need to include the hidemywp.conf file in your Nginx server block and reload Nginx. See the Nginx Setup guide for step-by-step instructions.
Does this work with WooCommerce?
Yes. Safe Mode is fully compatible with WooCommerce. Cart, checkout, product pages, customer accounts, and AJAX-powered features all work normally. The Safe Mode + Firewall + Compatibility preset includes settings specifically tested with WooCommerce.
Does WP Ghost modify WordPress core files?
No. WP Ghost uses server rewrite rules and WordPress hooks. No core files are moved, renamed, or modified. Deactivating the plugin restores all default paths instantly.