Customize WordPress admin dashboard URL parameters, values, and text with the free WP Ghost Admin Mapping add-on. Hide WordPress fingerprints from the backend for white-label and custom setups.
How To
Advanced Pack takes the basic security provided by the free version and enhances it with cutting-edge features like Two-Factor Authentication (2FA), Temporary Login, and more.
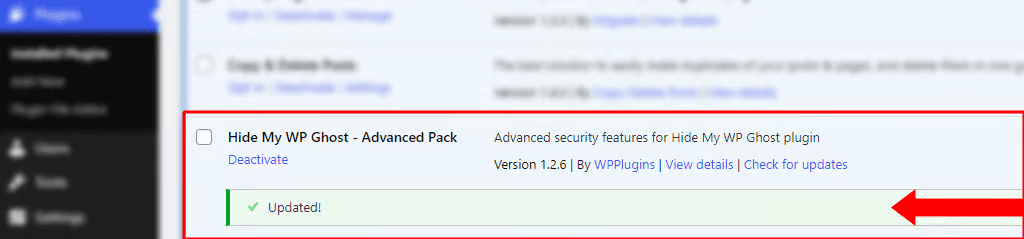
You can download the Hide My WP Ghost Advanced Pack directly here.
Key Features of the Hide My WP Ghost Advanced Pack
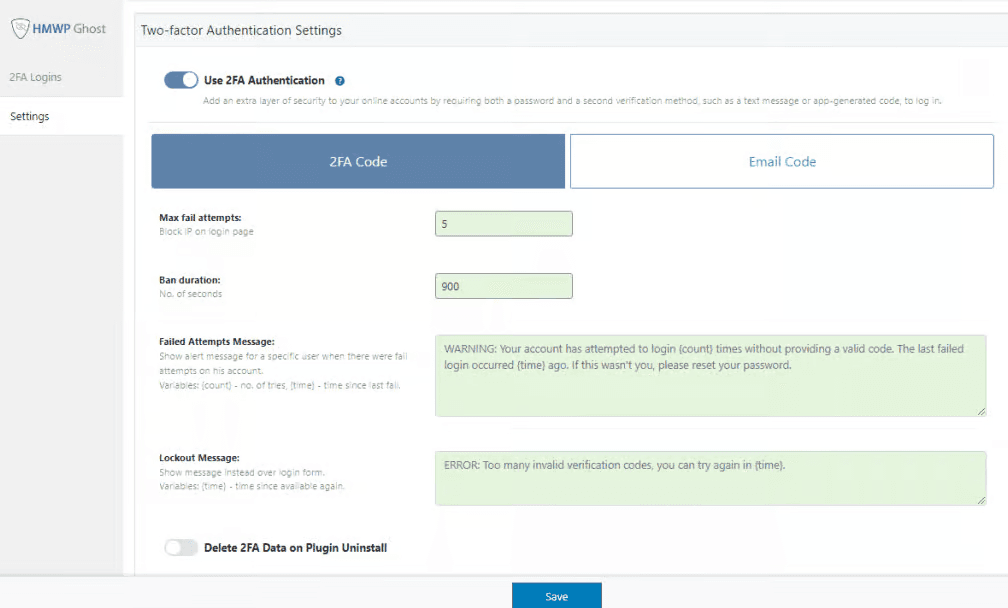
- Two-Factor Authentication (2FA)
One of the standout features of the Advanced Pack is the addition of Two-Factor Authentication (2FA). 2FA adds a layer of security to your login process, requiring users to enter not just a password, but also a second verification code, typically sent to their mobile device or email. This feature protects against brute force attacks, where hackers attempt to guess your password. Even if your password is compromised, unauthorized users will be unable to log in without the second authentication factor. 2FA is a must-have for any site where security is a top priority.
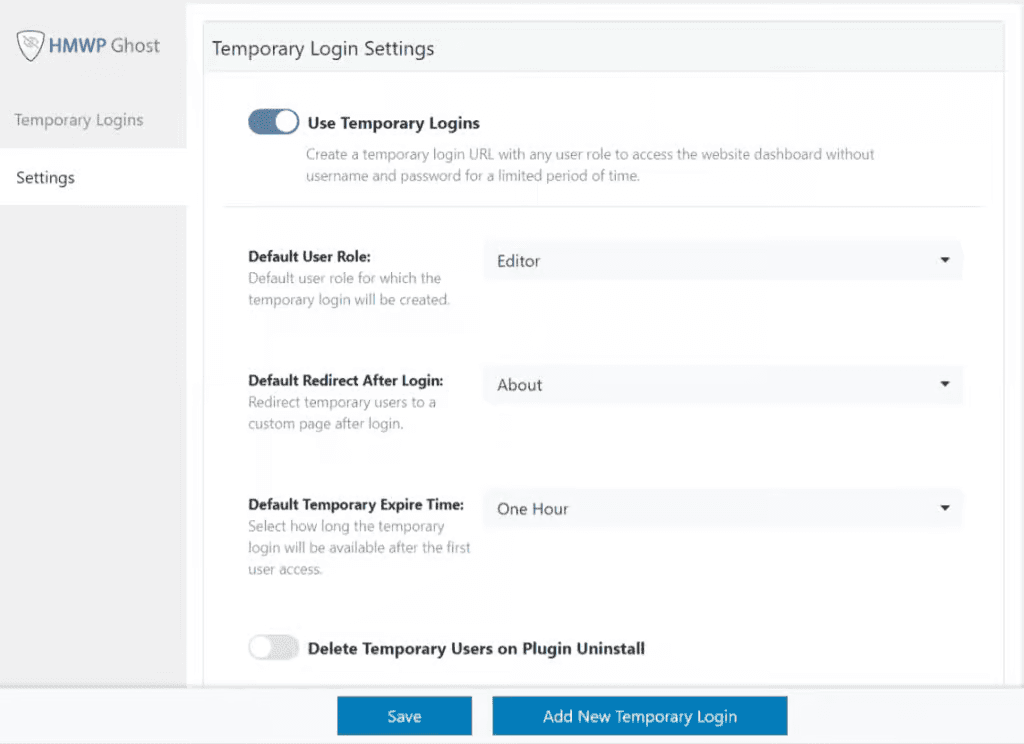
- Temporary Login Without a Password
The Temporary Login feature is an incredibly useful tool for site administrators who need to grant short-term access to a developer, client, or team member. With this feature, you can create temporary login links that allow users to access your site without a password for a set amount of time. After the time expires, the link automatically becomes invalid. This feature eliminates the need to create additional user accounts or share sensitive credentials and is ideal for scenarios where temporary access is required. It’s particularly useful for troubleshooting, website audits, or content updates.
How the Advanced Pack Works with the Free Version
The Hide My WP Ghost Advanced Pack is designed to fully work with the free version of the plugin, complementing its basic functionalities. If you’re already using the free version, upgrading to the Advanced Pack is seamless. The Advanced Pack installs as an additional feature set, unlocking some premium capabilities while retaining all the core features you’re accustomed to.
Conclusion
The Hide My WP Ghost Advanced Pack is a powerful upgrade that enhances your website with important security features like Two-Factor Authentication, Temporary Login, advanced file scanning, and brute force protection. Whether you run a small blog or a large e-commerce site, these additional layers of security offer significant protection against a wide range of threats.
Configure WP Ghost with LiteSpeed Cache. Enable Change Paths in Cached Files for minified CSS/JS. Whitelist QUIC.cloud IPs for CDN connectivity in Ghost Mode. Step-by-step with 4 screenshots.
Protect custom Elementor login forms from brute force attacks using the WP Ghost [hmwp_bruteforce] shortcode. Works with Math reCAPTCHA, Google V2, V3, and Enterprise.
Strip SEO plugin author names and XSL stylesheet branding from your WordPress sitemap.xml using WP Ghost. Two toggles, zero SEO impact, complete WordPress fingerprint removal.
WP Ghost and WP Security Ninja complement each other. WP Ghost handles path security and firewall. Security Ninja handles 50+ security tests, malware scanning, core file integrity, and auto-updates. Enable shared features in one only.
Add seven security headers to WordPress with one click in WP Ghost. Protect against XSS, clickjacking, MIME sniffing, and protocol downgrades with HSTS, CSP, X-Frame-Options, and more.

Enable WordPress debugging to log PHP errors to debug.log. Add WP_DEBUG, WP_DEBUG_LOG, and WP_DEBUG_DISPLAY to wp-config.php for troubleshooting, then disable after fixing.
Fix WordPress file permissions with WP Ghost one-click Security Check or manually via FTP and cPanel. Directories 0755, files 0644, wp-config.php 0444. Step-by-step guide.
After deactivating WP Ghost, custom paths return 404 errors. Add redirect rules to .htaccess (Apache) or nginx.conf (Nginx) to map custom paths back to original WordPress paths.
Enable .htaccess support in OpenLiteSpeed so WP Ghost can write path security and firewall rewrite rules. Step-by-step guide for the OpenLiteSpeed admin panel with CyberPanel.
Set up WP Ghost security on Nginx managed hosting without editing nginx.conf. Get custom login paths, firewall, brute force protection, 2FA, and security headers using the Minimal preset.
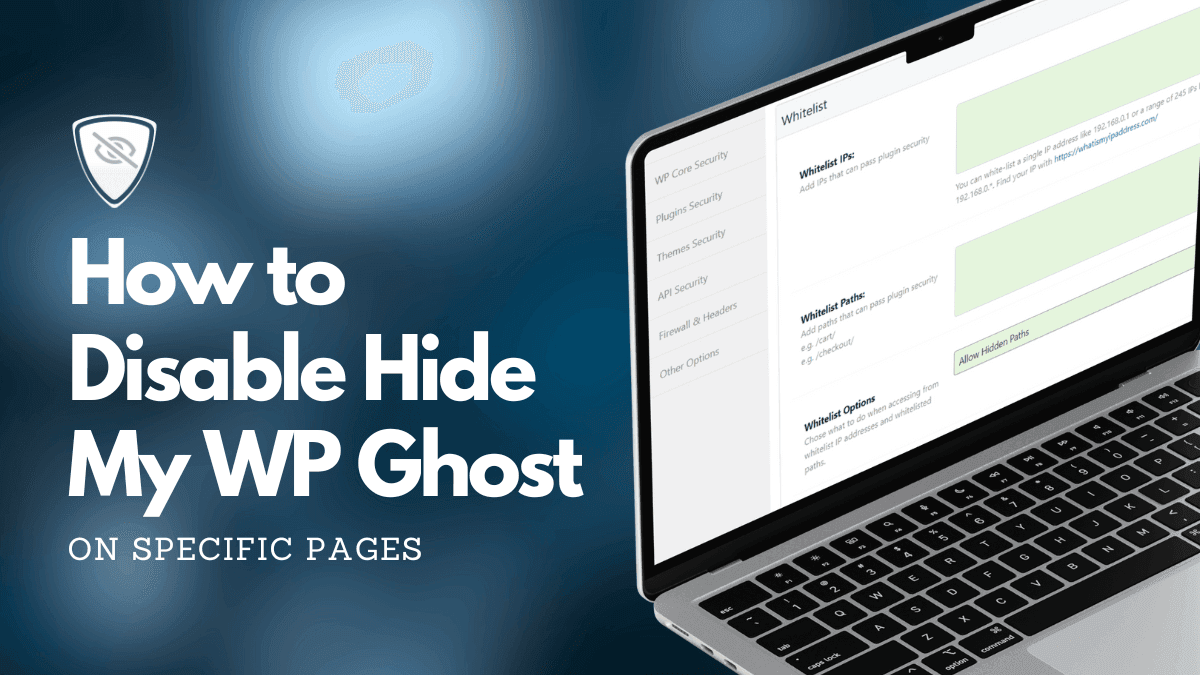
Exclude specific pages from WP Ghost path rewriting using Whitelist Paths or the hmwp_process_init filter. Two methods for disabling WP Ghost on individual pages, post types, or URLs.
If your Nginx server root is not writable, use WP Ghost’s hmwp_config_file filter to store rewrite rules in a custom location. Step-by-step guide with SSH commands.
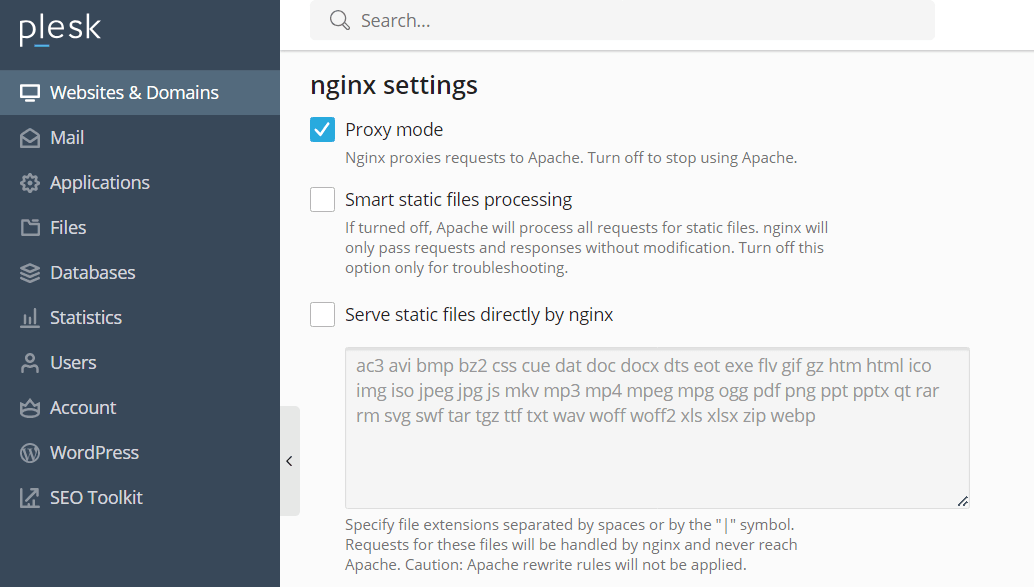
Configure Plesk to route all requests through Apache so WP Ghost can write .htaccess rules for path security and firewall protection. Step-by-step guide with screenshots.
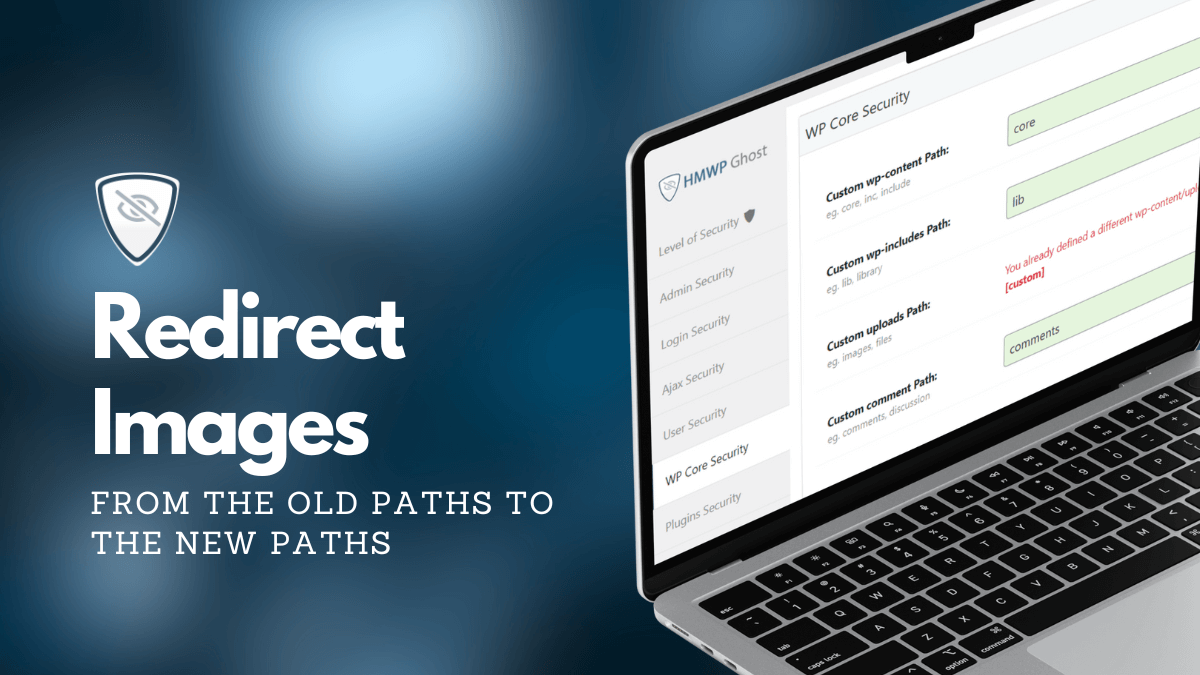
Prevent duplicate image URLs after changing your WordPress uploads path. Redirect old /wp-content/uploads/ image paths to your custom path in two steps with WP Ghost.
Step-by-step guide to configure WP Ghost on a Cloud Panel Nginx server. Set the server type, generate rewrite rules, and add the hidemywp.conf include to your Vhost file.


Activate the 7G Firewall in WP Ghost to block SQL injection, script injection, XSS, and malicious bots at the server level before WordPress loads. Free feature, zero performance impact.
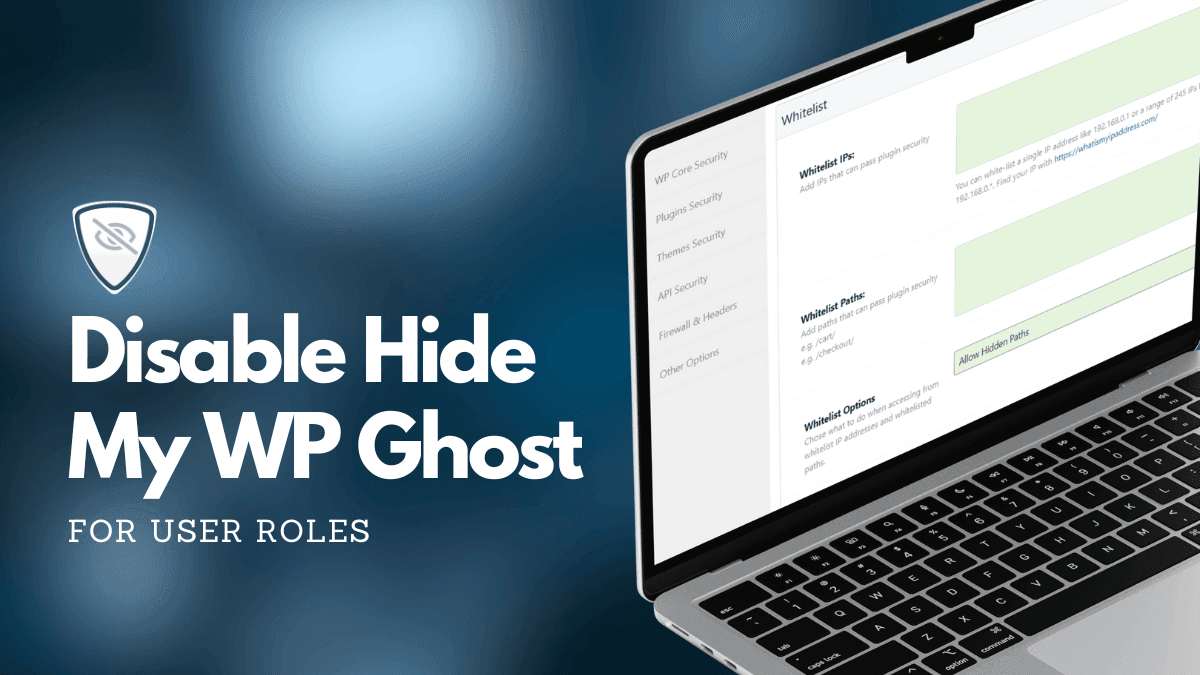
Disable WP Ghost path security for administrators, editors, or any WordPress user role using a simple code snippet. Also covers IP whitelisting as a no-code alternative.
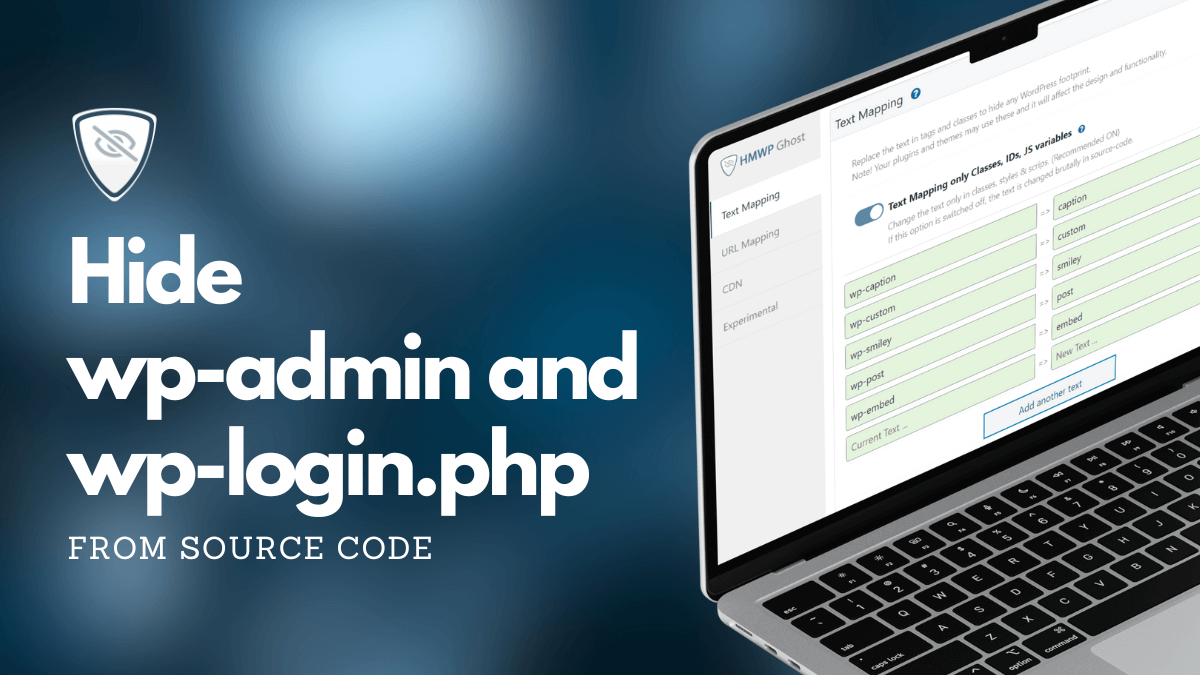
Remove wp-admin and wp-login.php from your WordPress source code using WP Ghost Admin Security and Login Security settings. Step-by-step guide with troubleshooting for stubborn path references.
Configure WP Ghost path security on Ploi.io hosting. Create the hidemywp.conf file, add the include directive in Ploi’s Nginx editor, and verify your WordPress site is protected.
Learn how to configure WP Ghost path security on WPMUDEV hosting. Generate the hidemywp.conf file, send it to WPMUDEV support for Nginx inclusion, and verify your setup.
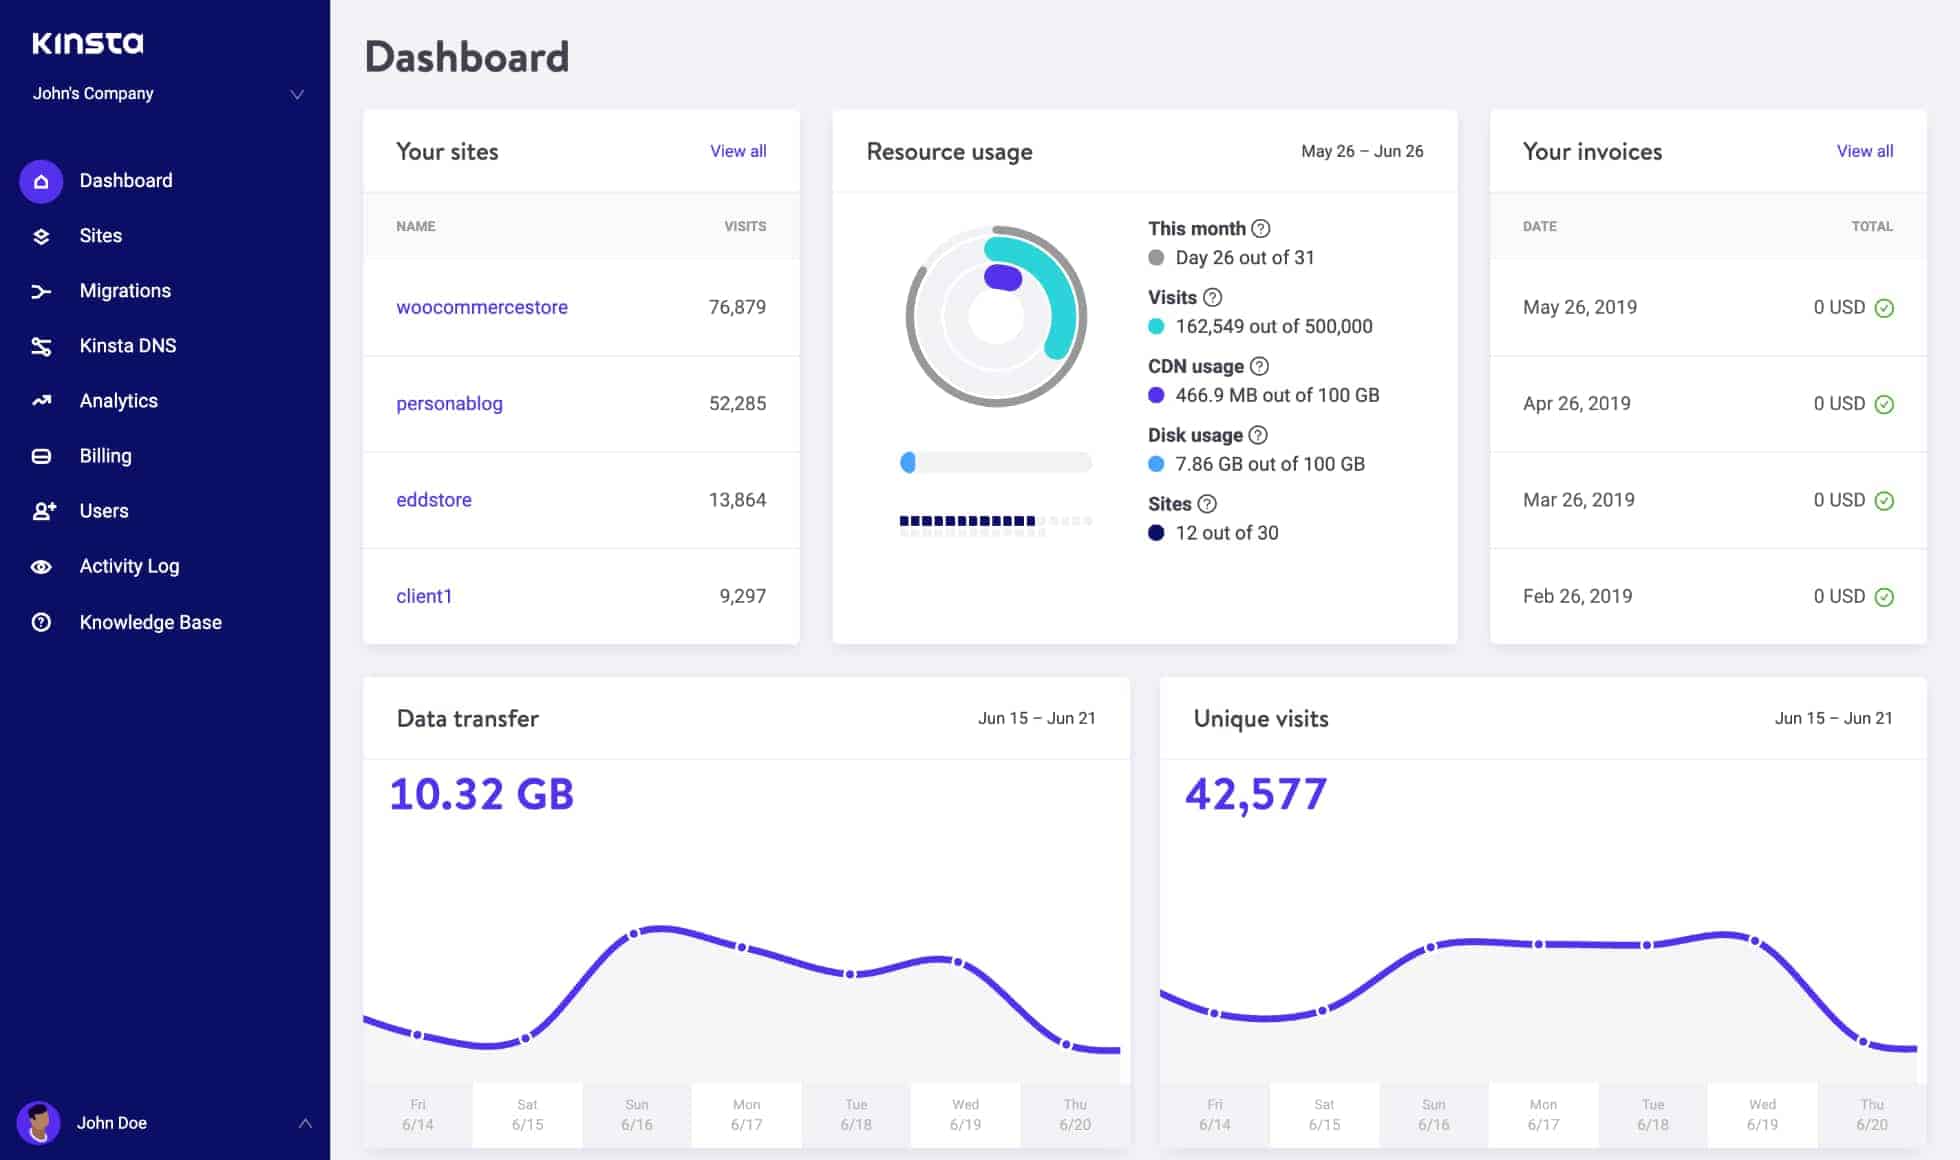
Configure WP Ghost on Kinsta by sending the hidemywp.conf file to Kinsta support. One-time setup with step-by-step instructions for backup, handoff to support, and verification. Includes CDN and troubleshooting.