How to Set Up WP Ghost on Flywheel Hosting – Step-by-Step Guide
December 21, 2020
This tutorial has moved to the new WP Ghost Knowledge Base where each feature is presented in detail.
To set up WP Ghost on Flywheel hosting, activate Safe Mode or Ghost Mode, add the generated redirects to Flywheel’s Redirect tool, clear the Flywheel cache, and verify the frontend loads correctly.
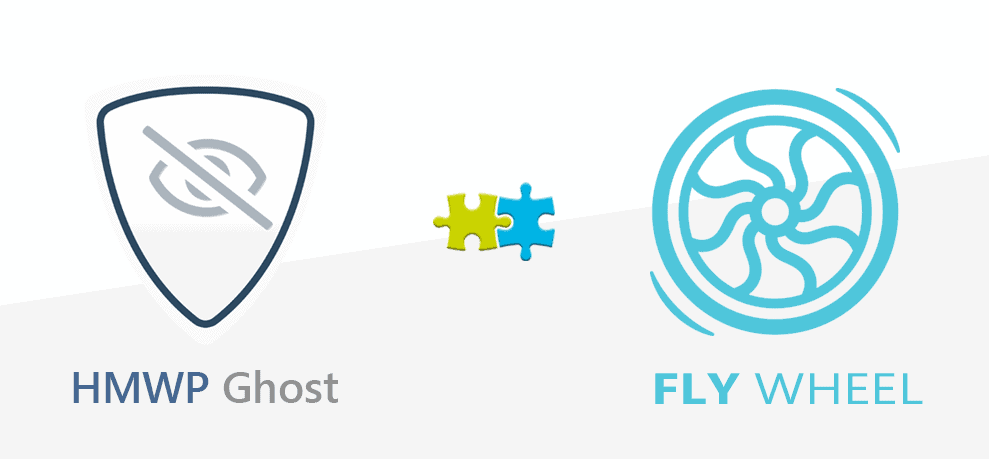
Why Flywheel Requires Extra Setup
Flywheel is a managed WordPress hosting provider that runs on Nginx servers. Unlike Apache-based hosts where WP Ghost writes rewrite rules directly to .htaccess, Flywheel does not give you direct access to the Nginx configuration. Instead, Flywheel provides a built-in Redirect tool that handles URL rewrites.
This means after you configure your custom paths in WP Ghost, you need to copy the generated redirect rules into Flywheel’s Redirect tool so the server knows how to route requests to your new paths. The process takes about 5 minutes.
Why Paths Security Matters
Every WordPress site uses the same default paths: /wp-admin, /wp-login.php, /wp-content/plugins/, /wp-content/themes/. Hacker bots scan millions of sites per day targeting these exact paths. When WP Ghost changes them to custom URLs and the old paths return 404 errors, bots can not confirm your site runs WordPress and move on to easier targets.
| WordPress Path | Default (Vulnerable to bots) | Secured with WP Ghost |
|---|---|---|
| Admin dashboard | /wp-admin/ | /your-custom-admin/ |
| Login page | /wp-login.php | /your-custom-login/ |
| Plugins directory | /wp-content/plugins/ | /custom-assets/extensions/ |
| Themes directory | /wp-content/themes/ | /custom-assets/layouts/ |
| Old paths accessible? | Yes (exploitable) | 404 Not Found |
Step-by-Step Setup on Flywheel
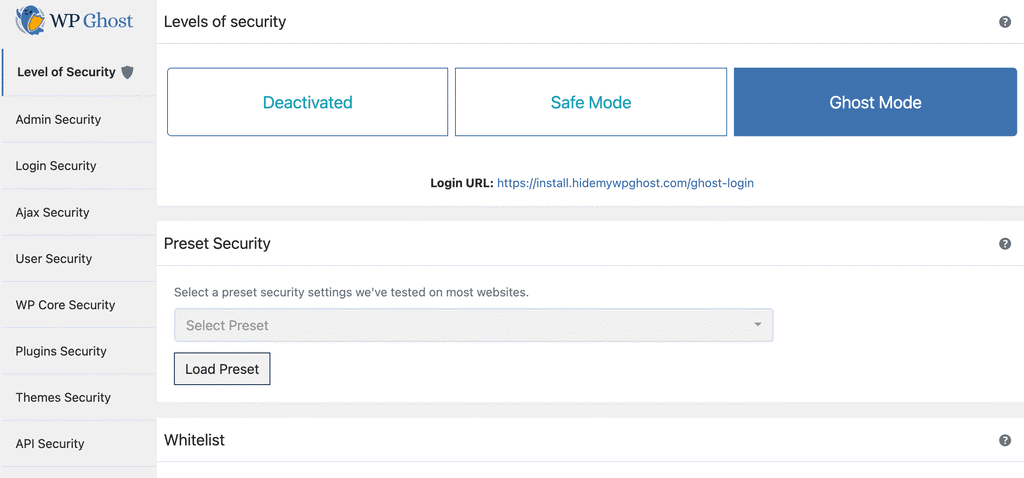
Step 1 – Choose Your Security Level
1. In your WordPress dashboard, go to WP Ghost > Change Paths.
2. Select Safe Mode (recommended for first-time setup) or Ghost Mode (maximum security, Premium only).
3. Scroll down and customize any paths you want to change. You can customize the admin path, login path, plugins path, themes path, uploads path, and more.
Step 2 – Save and Get the Redirect Rules
4. Click the Save button.
5. WP Ghost will detect that you are on a Flywheel server and display a message with the redirect rules you need to add to the Flywheel Redirect tool.
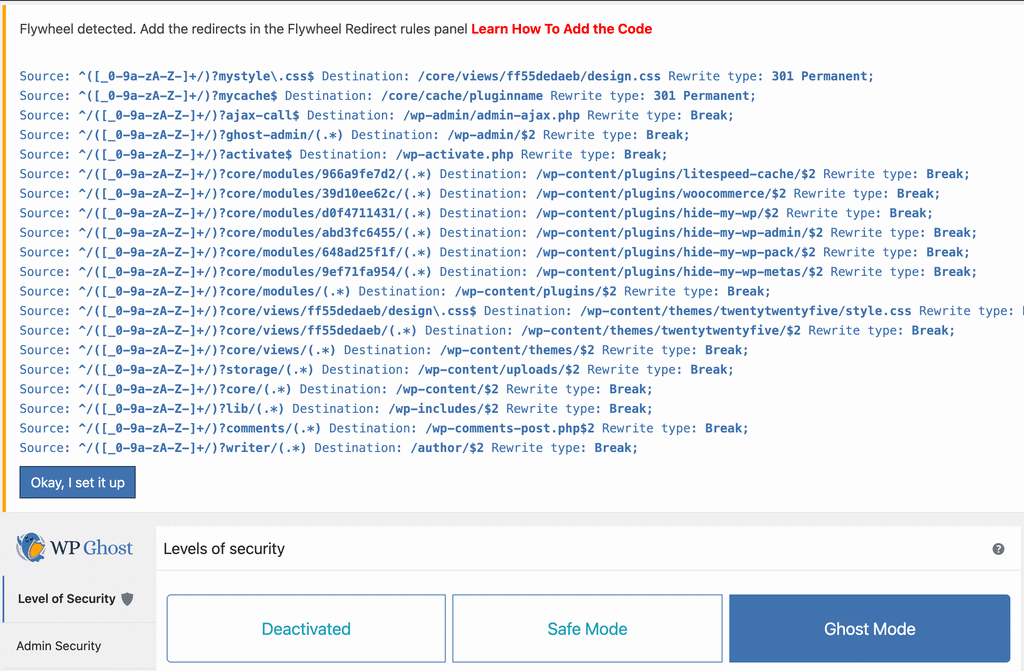
Step 3 – Add Redirects in Flywheel
6. Log into your Flywheel dashboard and open the Redirect tool for your site.
7. Copy each redirect rule from the WP Ghost message and add it to the Flywheel Redirect tool.
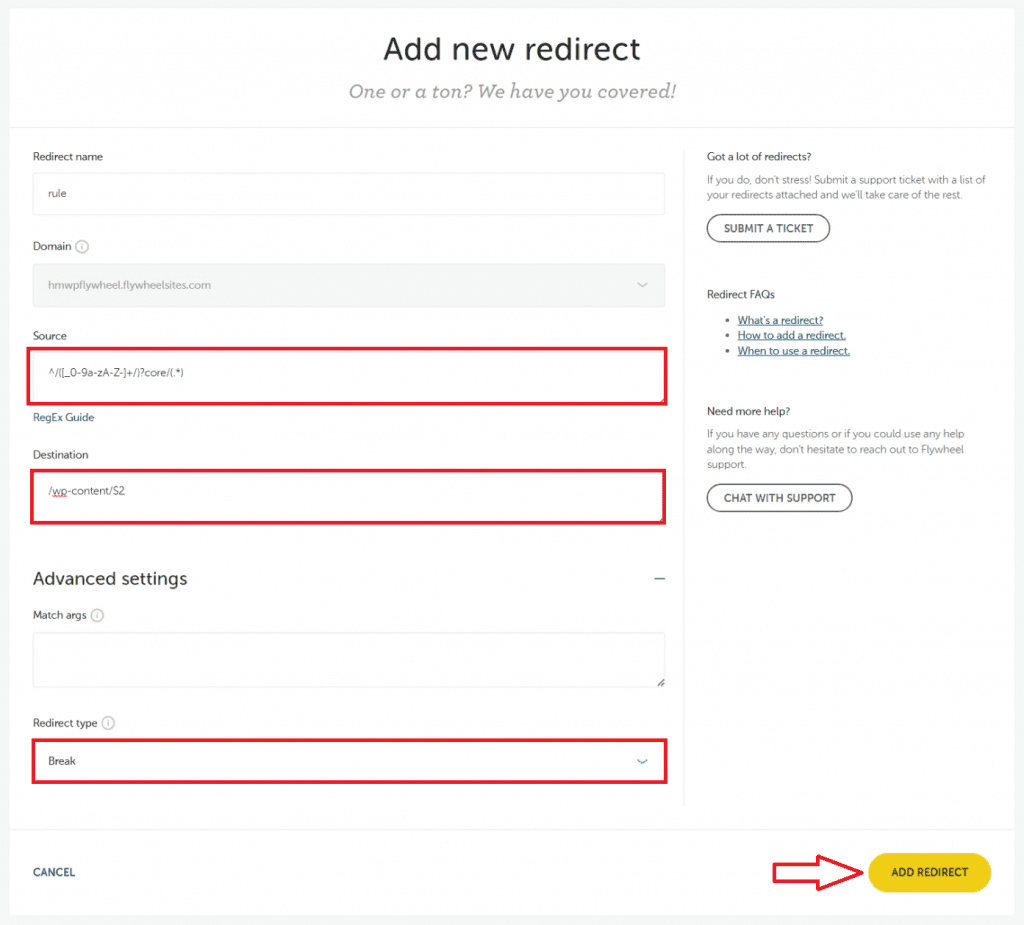
Important: Do not log out of your WordPress dashboard until all redirects have been added and activated by the Flywheel server. If you log out before the redirects are active, you may not be able to access your custom login path.
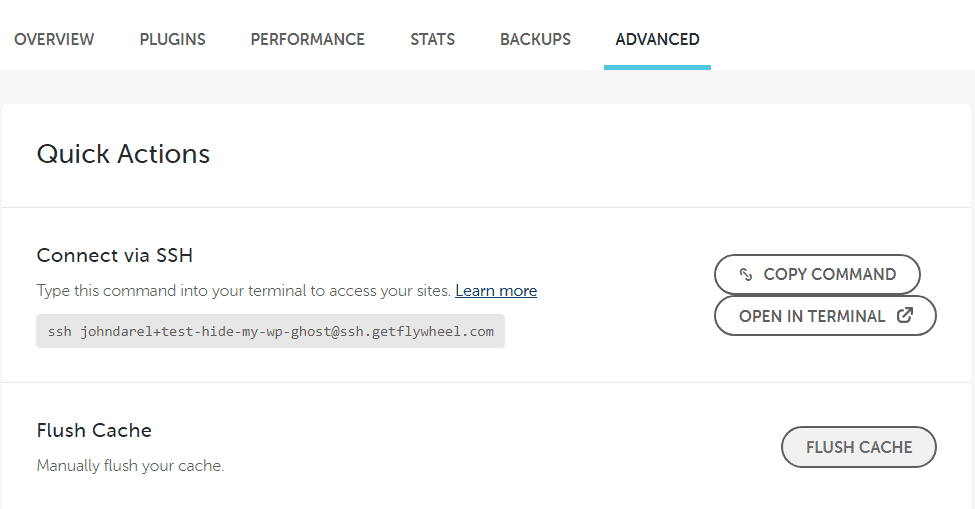
Step 4 – Clear the Flywheel Cache
8. Clear the Flywheel cache so the server loads the new paths. You can do this from the Flywheel dashboard or from the WordPress admin bar.
9. If you have any additional cache plugins installed on your site (WP Rocket, W3 Total Cache, etc.), clear those caches too.
Step 5 – Verify Your Setup
10. After the redirects are active, click the Frontend Login Test button in WP Ghost. This opens your new custom login page so you can verify it loads correctly.
11. You can also check by opening your site in a different browser or in incognito mode and navigating to your new login URL.
12. If everything loads correctly, click the “Yes, it’s working” button to confirm your settings.
13. If something is wrong, click “No, abort” to roll back to your previous settings. This restores all original paths immediately.

Troubleshooting
If the login page does not load after adding the redirects, check these common issues:
Redirects not activated yet. Flywheel may take a few minutes to process new redirects. Wait a couple of minutes and try again.
Cache not cleared. Old cached pages will still serve the original paths. Clear both the Flywheel cache and any WordPress cache plugin you are using.
Testing while logged in. WP Ghost shows original paths to logged-in administrators by default. Test in an incognito window or a different browser where you are not logged in.
Locked out completely. If you can not access your dashboard, use the emergency disable guide to restore access. You can also add define('HMWP_DISABLE', true); to your wp-config.php file via sFTP to temporarily disable WP Ghost.
Frequently Asked Questions
Why does Flywheel need extra steps compared to other hosts?
Flywheel runs on Nginx and does not provide direct access to server configuration files. On Apache-based hosts, WP Ghost writes rewrite rules directly to .htaccess. On Flywheel, you need to use their built-in Redirect tool instead. The end result is the same – your paths are secured and old paths return 404 errors.
Can I use Ghost Mode on Flywheel?
Yes. Ghost Mode works on Flywheel. You will have more redirect rules to add to the Flywheel Redirect tool compared to Safe Mode, but the process is the same. Ghost Mode is a Premium feature that applies the maximum security configuration.
Do I need to update the Flywheel redirects every time I change WP Ghost settings?
Only if you change paths that affect the redirect rules. If you change your login path, admin path, or other core paths, WP Ghost will display the updated redirects and you will need to update them in the Flywheel Redirect tool. Changing settings like firewall level, brute force protection, or 2FA does not require redirect updates.
Does this work with Flywheel’s Local development tool?
Yes. WP Ghost works with Local by Flywheel for local development. For the Local-specific setup, see Local Flywheel Setup.
Does WP Ghost modify WordPress core files?
No. WP Ghost uses server rewrite rules and WordPress hooks. No core files are moved, renamed, or modified. Deactivating the plugin restores all default paths instantly.