How to Disable WP Ghost on Specific Pages in WordPress
October 20, 2023
This tutorial has moved to the new WP Ghost Knowledge Base where each feature is presented in detail.
Exclude specific pages from WP Ghost’s path rewriting using the built-in Whitelist Paths option, or use the hmwp_process_init filter in functions.php for more granular control based on page slugs, post types, or custom conditions.
When You Need to Disable WP Ghost on Specific Pages
WP Ghost’s path security works site-wide by default, which is exactly what you want for hack prevention. Every page serves assets from your custom paths, and every default WordPress path returns a 404 error.
But sometimes a specific page or path needs to be excluded. A third-party integration that hardcodes WordPress paths, a payment gateway callback URL that expects the original path structure, or a specific landing page served by an external tool can all break if WP Ghost rewrites the paths on that page.
WP Ghost provides two ways to handle this: the built-in Whitelist Paths option (no code, quick setup) and the hmwp_process_init filter (code-based, more flexible).
Method 1 – Use Whitelist Paths (No Code)
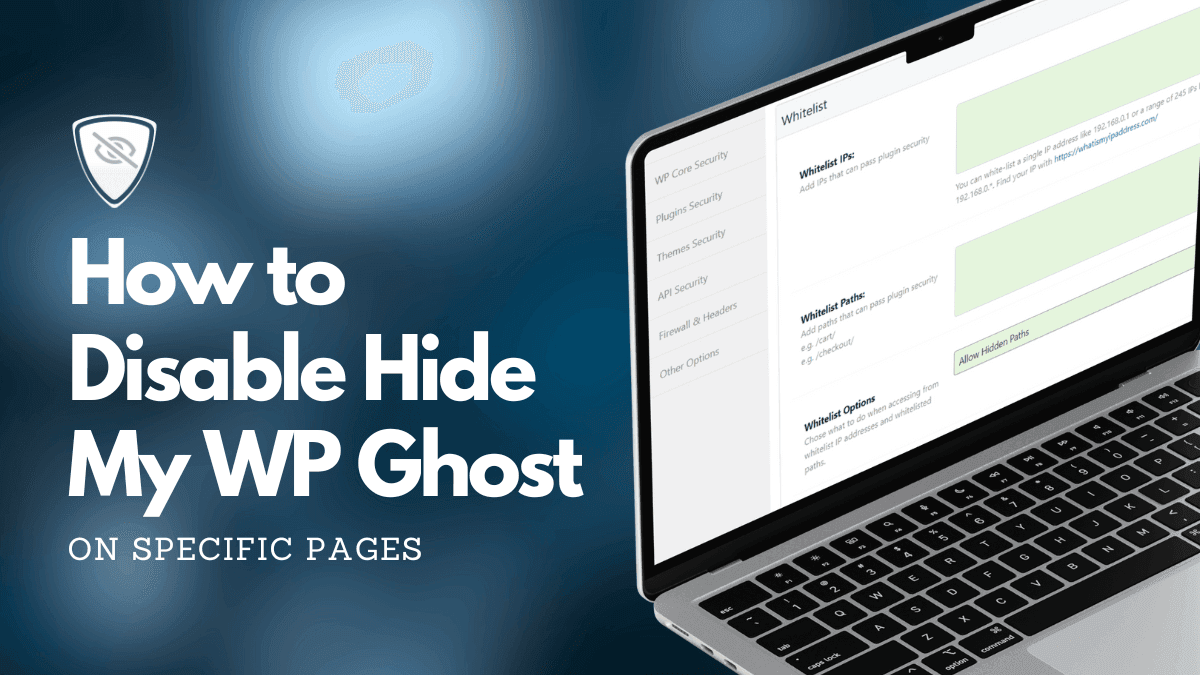
The simplest way to exclude pages from WP Ghost is to add them to the whitelist. WP Ghost will skip all path rewriting for any URL that matches a whitelisted path.
1. Go to WP Ghost > Change Paths > Whitelist Options.
2. Enter the slug or relative URL of the pages you want to exclude. For example, to exclude a page at yourdomain.com/sample-page/, add /sample-page/.
3. Click Save.
WP Ghost will now serve the original WordPress paths on those pages while continuing to use custom paths on every other page.
You can add multiple paths, one per line. The whitelist matches the beginning of the URL, so adding /shop/ would exclude /shop/ and everything under it (like /shop/my-product/).
This method is recommended for most users because it requires no code, works immediately, and persists through theme and plugin updates.
Method 2 – Use the hmwp_process_init Filter (Code)
If you need more control, like disabling WP Ghost based on page template, post type, user role, or other WordPress conditions, use the hmwp_process_init filter. This filter runs early in the page load and lets you programmatically decide whether WP Ghost should process the current request.
Disable on a Specific Page by Slug
Open your theme’s functions.php file (or a custom plugin file) and add this code:
function disable_hmwp_on_specific_pages($process) {
    // Disable WP Ghost on a specific page by its slug
    if (is_page('your-page-slug')) {
        return false;
    }
    return $process;
}
add_filter('hmwp_process_init', 'disable_hmwp_on_specific_pages');
Replace 'your-page-slug' with the slug of the page you want to exclude. You can find the slug in Pages > Edit > URL Slug in your WordPress dashboard.
Disable on Multiple Pages
To exclude multiple pages, pass an array of slugs:
function disable_hmwp_on_specific_pages($process) {
    $excluded_pages = array('sample-page', 'contact', 'payment-callback');
    if (is_page($excluded_pages)) {
        return false;
    }
    return $process;
}
add_filter('hmwp_process_init', 'disable_hmwp_on_specific_pages');
Disable on a Custom Post Type
To disable WP Ghost on all pages of a custom post type (for example, a “portfolio” post type):
function disable_hmwp_on_custom_post_type($process) {
    if (is_singular('portfolio')) {
        return false;
    }
    return $process;
}
add_filter('hmwp_process_init', 'disable_hmwp_on_custom_post_type');
Disable Based on URL Path
If you need to match URLs directly (useful for non-page paths like API callbacks):
function disable_hmwp_on_specific_urls($process) {
    if (isset($_SERVER['REQUEST_URI'])) {
        $excluded_paths = array('/payment-callback/', '/api/webhook/');
        foreach ($excluded_paths as $path) {
            if (strpos($_SERVER['REQUEST_URI'], $path) !== false) {
                return false;
            }
        }
    }
    return $process;
}
add_filter('hmwp_process_init', 'disable_hmwp_on_specific_urls');
Which Method Should You Use
Use Whitelist Paths (Method 1) when you need to exclude specific URLs and do not need conditional logic. It is the simplest option, requires no code, and works immediately. This is the right choice for most situations like excluding payment callback URLs, third-party integration endpoints, or specific landing pages.
Use the hmwp_process_init filter (Method 2) when you need to disable WP Ghost based on WordPress conditions like page template, post type, user role, or custom logic that the whitelist can not handle. This gives you full programmatic control but requires adding code to functions.php or a custom plugin.
You can also use both methods together. Whitelist Paths handles the simple URL exclusions, and the filter handles the conditional logic.
Other Useful WP Ghost Filters
WP Ghost provides additional filters for more granular control over specific features without disabling the entire plugin on a page:
hmwp_process_hide_urls – controls whether URL rewriting runs on the current request. Return false to keep WP Ghost active but skip URL path changes on a specific page.
hmwp_process_hide_disable – controls whether the “disable” features (hide common paths, block old paths) run for the current request.
hmwp_start_buffer – controls whether the PHP output buffer starts at all. Return false to skip all HTML rewriting for the current request.
hmwp_process_buffer – controls whether the buffered HTML is processed for path replacements. Lets you skip rewriting on specific page types without stopping the buffer entirely.
These filters give you fine-grained control over exactly which WP Ghost features run on which pages, without disabling the entire plugin.
Frequently Asked Questions
Does disabling WP Ghost on a page reduce security for that page?
Yes, partially. When WP Ghost is disabled on a specific page, that page serves assets from original WordPress paths instead of your custom paths. This means bots scanning that specific URL could identify WordPress fingerprints. However, the 8G Firewall and Brute Force Protection still apply site-wide regardless of the whitelist. Only exclude pages when you have a genuine technical reason to do so.
Should I add the code to functions.php or wp-config.php?
Use functions.php for the hmwp_process_init filter because it relies on WordPress conditional functions like is_page() which are not available in wp-config.php. For a solution that survives theme changes, create a small custom plugin or use a site-specific plugin file instead of functions.php.
Will the Whitelist Paths option also bypass the firewall on those pages?
The Whitelist Paths option controls path rewriting, not the firewall. The 8G Firewall rules in .htaccess run on every request regardless of the whitelist because they operate at the server level before WordPress loads. Your whitelisted pages are still protected by the firewall.
Can I whitelist a WooCommerce checkout page?
You can, but it should not be necessary. WP Ghost is fully compatible with WooCommerce checkout, cart, and payment processing. Only whitelist the checkout page if a specific payment gateway integration requires the original WordPress paths. Test thoroughly before and after.
Does WP Ghost modify WordPress core files?
No. WP Ghost uses server rewrite rules and WordPress hooks. No core files are moved, renamed, or modified. Deactivating the plugin restores all default paths instantly.