How to Add a Custom Config File for WP Ghost on Nginx Servers
July 20, 2023
This tutorial has moved to the new WP Ghost Knowledge Base where each feature is presented in detail.
If your Nginx server’s root directory is not writable, use WP Ghost’s hmwp_config_file filter to store the rewrite rules in a custom location inside wp-content, then include that file in your Nginx server block.
When You Need a Custom Config Path
By default, WP Ghost generates a file called hidemywp.conf in the WordPress root directory. This file contains all the Nginx rewrite rules that make path security work. Nginx reads this file through an include directive in the server block.
On some server setups, the WordPress root directory is not writable by the web server process. This means WP Ghost can not create or update the hidemywp.conf file in its default location. In that case, you need to tell WP Ghost to write the config file to a different, writable location, and then point your Nginx configuration to that new location.
This tutorial walks you through the entire process. You need SSH access to your server to complete these steps.
Step 1 – Create the Custom Config File
1. Connect to your server using SSH.
2. Navigate to your WordPress installation’s wp-content directory. This directory is typically writable by WordPress.
3. Create an empty config file:
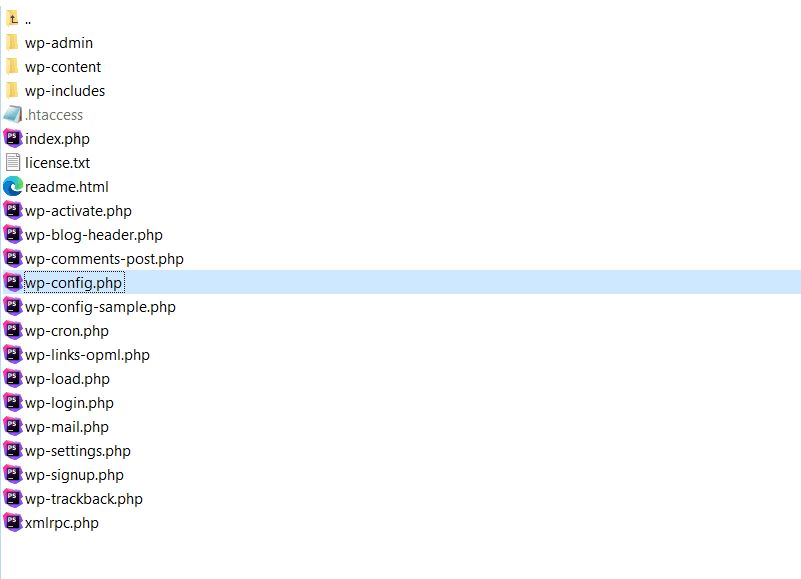
touch /path_to_root/wp-content/hidemywp_custom.confReplace /path_to_root/ with the actual path to your WordPress installation folder (the directory that contains wp-config.php).
4. Make sure the file is writable by the web server user (typically www-data on Ubuntu or nginx on CentOS):
chown www-data:www-data /path_to_root/wp-content/hidemywp_custom.conf
chmod 644 /path_to_root/wp-content/hidemywp_custom.conf
Step 2 – Include the File in Nginx Configuration
5. Open your Nginx server configuration file. Depending on your setup, this is typically at /etc/nginx/nginx.conf, inside a virtual host file in /etc/nginx/sites-available/, or in a custom location specified by your hosting provider.
6. Inside the server block for your domain, add an include directive that points to the custom config file:
server {
    # Other existing configurations...

    include /path_to_root/wp-content/hidemywp_custom.conf;

    # Other existing configurations...
}
Replace /path_to_root/ with the actual absolute path to your WordPress installation folder.
Step 3 – Tell WP Ghost Where to Write the Config
7. Open your wp-config.php file in a text editor.
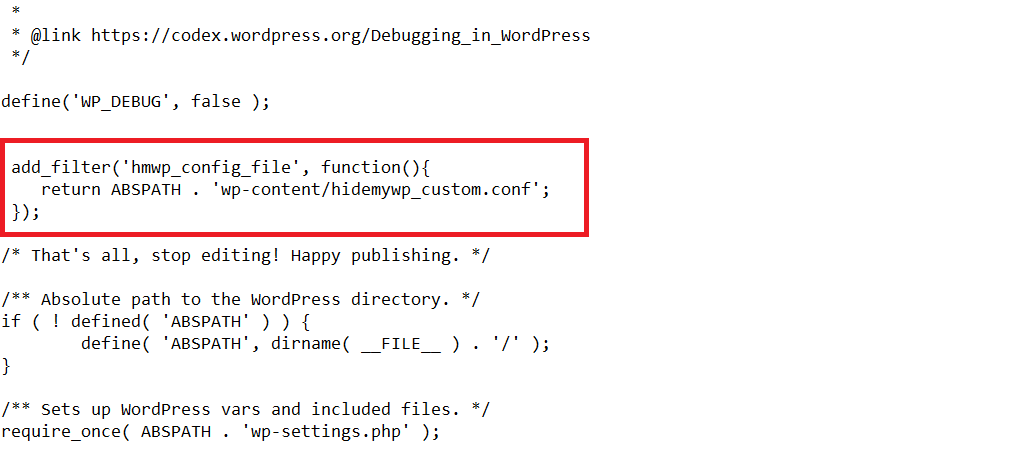
8. Add the following filter after the WP_DEBUG definition (or anywhere before the “That’s all, stop editing!” comment):
add_filter('hmwp_config_file', function(){
    return ABSPATH . 'wp-content/hidemywp_custom.conf';
});
This tells WP Ghost to write all its Nginx rewrite rules to the custom file location instead of the default hidemywp.conf in the root directory.
Step 4 – Save WP Ghost Settings
9. Log into your WordPress dashboard.
10. Go to WP Ghost > Change Paths.
11. Click Save. WP Ghost now writes the rewrite rules to the custom file location you defined.
Step 5 – Restart Nginx
12. Restart Nginx to load the new configuration:
sudo service nginx restartOr on systems using systemctl:
sudo systemctl restart nginx13. Test your site in an incognito browser. Verify that your custom login path works and that old paths like /wp-login.php return 404 errors.
Important Notes
Restart Nginx after every WP Ghost path change. Every time you save new path settings in WP Ghost, the hidemywp_custom.conf file is updated with new rewrite rules. Nginx does not reload config files automatically. You must restart Nginx each time for the changes to take effect.
The custom file must be writable by the web server. If WP Ghost can not write to the file, your path changes will not be applied. Check file ownership and permissions if you encounter issues.
You can use any writable location. The wp-content directory is a common choice, but you can use any directory the web server can write to. Just update both the Nginx include path and the hmwp_config_file filter to match.
For the standard Nginx setup (when the root directory is writable), see the Nginx Server Setup guide. For managed Nginx hosts that do not give you config access, see hosting-specific guides like Flywheel, WP Engine, or WPMUDEV.
Frequently Asked Questions
Why can WP Ghost not write to the root directory on my server?
Some server configurations set the WordPress root directory to read-only for security reasons, or the web server process (www-data, nginx) does not have write permission to that directory. This is common on hardened hosting setups and some managed Nginx environments. The custom config path approach solves this by writing to a directory where WordPress already has write access.
Can I put the config file outside the WordPress directory entirely?
Yes. You can use any path that is readable by Nginx and writable by the web server process. Update the hmwp_config_file filter return value and the Nginx include directive to match. For example, /etc/nginx/conf.d/hidemywp_custom.conf would work if the web server user has write access to that directory.
Do I need to restart Nginx every time I change WP Ghost settings?
Only when you change settings that affect path rewrite rules (login path, admin path, plugins path, themes path, etc.). Changes to settings like brute force protection, 2FA, security headers, or firewall level do not require an Nginx restart because those features operate at the WordPress application level.
What if I can not access SSH on my server?
This tutorial requires SSH access. If your hosting does not provide SSH, you likely need to contact your hosting support to add the include directive in the Nginx configuration. You can still create the config file and edit wp-config.php using sFTP and the hosting File Manager. For hosts without SSH, see our hosting-specific guides for Flywheel, WP Engine, and WPMUDEV.
Does WP Ghost modify WordPress core files?
No. WP Ghost uses server rewrite rules and WordPress hooks. No core files are moved, renamed, or modified. Deactivating the plugin restores all default paths instantly.

