How Do I Install Security Plugins in WordPress? (Guide)
This tutorial has moved to the new WP Ghost Knowledge Base where each feature is presented in detail.
WordPress doesn’t ship with built-in hack prevention, so installing a security plugin is one of the first things you should do after launching a site. This guide walks you through the complete process, from searching the plugin directory to configuring your first security scan, and explains why a hack-prevention plugin like WP Ghost should be at the top of your list.
Why You Need a Security Plugin on Every WordPress Site
WordPress powers over 40% of the web, and that popularity makes it the number-one target for automated bots. These bots scan thousands of sites per hour looking for default paths like /wp-admin, /wp-login.php, and /wp-includes. If those paths exist exactly where WordPress puts them, you’re giving attackers a roadmap to your site.
A security plugin adds the protection WordPress doesn’t include out of the box: firewalls, brute force limits, login path changes, security headers, and more. The best approach is hack prevention, stopping attacks before they reach your plugins, themes, and core files, rather than cleaning up malware after a breach.
How to Install a Security Plugin in WordPress
Step 1 – Log In to Your WordPress Dashboard
Open your browser and go to your site’s admin area. By default that’s yourdomain.com/wp-admin. Enter your administrator username and password to log in. If you’ve already changed your login path with a security plugin, use that custom URL instead.
Step 2 – Go to Plugins > Add New Plugin
In the left sidebar of your dashboard, click Plugins, then click Add New Plugin at the top of the page. This opens the WordPress plugin directory where you can search for and install any free plugin.
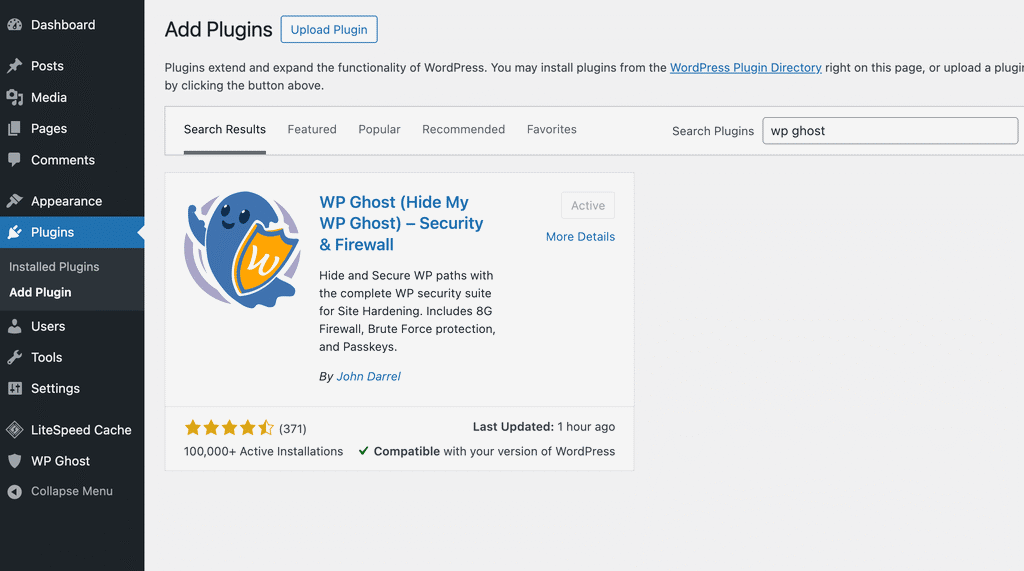
Step 3 – Search for Your Security Plugin
Type the name of the plugin you want in the search bar. For example, search for “WP Ghost” to find the hack-prevention plugin, or search keywords like “WordPress security” or “hide wp-login” to browse related options. WordPress displays matching results instantly.
Step 4 – Install and Activate
Click the Install Now button next to the plugin you want. WordPress downloads and installs the files automatically. Once the install finishes, the button changes to Activate. Click it. The plugin is now live on your site, but you still need to configure its settings.
Step 5 – Configure Security Settings
Every security plugin has its own settings panel. Most add a new menu item in the WordPress sidebar after activation. For WP Ghost, you’ll find the settings under WP Ghost in the left menu, with sections for Change Paths, Firewall, Brute Force, 2FA Login, Tweaks, and more.
Take time to go through each section. At minimum, you should enable a firewall, set up brute force protection, and change your default login path. If your plugin offers a security check or scan feature, run it immediately to see where your site stands.
Step 6 – Keep the Plugin Updated
Security plugins receive frequent updates to patch new vulnerabilities and add protection against emerging threats. Check your Plugins page regularly for update notifications, or enable auto-updates for your security plugin so you’re always running the latest version.
What to Look for in a WordPress Security Plugin
Not all security plugins work the same way. Some focus on malware scanning (detecting problems after they happen), while others focus on hack prevention (stopping attacks before they succeed). The strongest security setup combines both approaches, but if you have to pick a priority, prevention wins every time.
Here’s what a solid hack-prevention plugin should include: a web application firewall (like the 7G or 8G firewall in WP Ghost), brute force protection with login attempt limits, the ability to change and hide default WordPress paths, security headers to block clickjacking and XSS attacks, and two-factor authentication. WP Ghost includes all of these in its free version, with 115+ features available at no cost.
Alternative Method – Upload a Plugin ZIP File
If you downloaded a plugin as a .zip file (common for premium plugins like WP Ghost Premium), you can install it manually. Go to Plugins > Add New Plugin, click Upload Plugin at the top, choose your .zip file, and click Install Now. After the upload completes, click Activate.
Security Plugins Work Best as Part of a Stack
Installing a security plugin is a critical step, but it’s not the only one. A strong WordPress security strategy also includes strong, unique passwords for every admin account, two-factor authentication on all user logins, regular backups stored off-site, keeping WordPress core, themes, and plugins updated, and secure hosting with server-level protection.
WP Ghost is designed to work alongside other security tools. You can run it together with Wordfence, Solid Security, Sucuri, or your hosting’s built-in firewall. WP Ghost handles the prevention layer, hiding your WordPress fingerprint from bots and blocking attacks before they reach vulnerable code, while other tools handle scanning and monitoring.
Frequently Asked Questions
Do I really need a security plugin if my host provides security?
Yes. Hosting security typically covers server-level protection like DDoS mitigation and network firewalls. A WordPress security plugin protects at the application level, hiding paths, blocking brute force attacks, adding login 2FA, and enforcing security headers. The two layers complement each other.
Can I install more than one security plugin at the same time?
Yes, as long as you avoid feature overlap. For example, don’t enable two different firewalls or two brute force limiters on the same path. WP Ghost is compatible with most security plugins because it focuses on path security and hack prevention rather than malware scanning.
Will a security plugin slow down my website?
A well-built security plugin adds minimal overhead. WP Ghost actually reduces server load by blocking malicious bot traffic before it reaches your PHP files. Bots that can’t find your login page or admin path simply get a 404 and move on, saving your server from processing thousands of junk requests.
What is the best free security plugin for WordPress?
It depends on what you need. If your priority is hack prevention and reducing your attack surface, WP Ghost Free is a strong choice. It includes 115+ features: path security, 7G/8G firewall, brute force protection, 2FA (including passkeys), security headers, and login customization, all at no cost. For malware scanning, tools like Wordfence or Sucuri are popular. Many site owners run WP Ghost alongside a scanner for layered protection.
How do I know which security features to enable after installing?
Run your plugin’s security check first. In WP Ghost, go to WP Ghost > Security Check > Start Scan. The scan identifies weak spots and gives you a security score. Use the recommended settings or “Fix it” buttons to address each issue. You can also follow the WP Ghost best practice guide for a proven configuration.
Does WP Ghost modify WordPress core files?
No. WP Ghost uses server rewrite rules and WordPress filters to change paths and block threats. It never modifies, moves, or renames any core WordPress files. If you deactivate the plugin, everything reverts to the original WordPress defaults automatically.