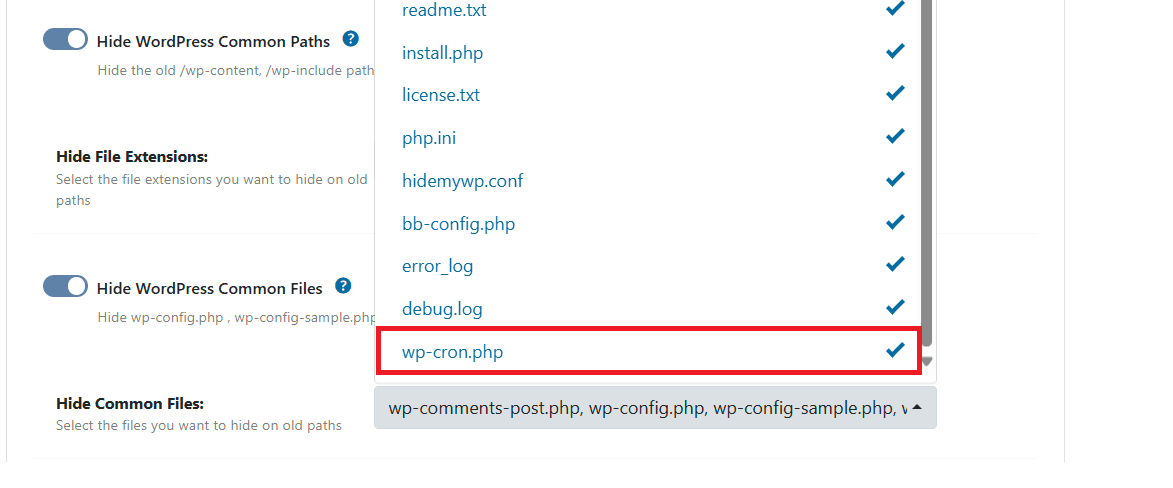
Add custom files like wp-cron.php, wp-trackback.php, or composer.json to WP Ghost’s hidden files list using the hmwp_hide_commonfiles_files filter. Step-by-step developer guide.
Change the WordPress login page logo link to your homepage or remove it entirely using login_headerurl and login_headertext filters. Step-by-step code snippets included.
Change the default hmwp_logged_in cookie prefix in WP Ghost by adding the HMWP_LOGGED_IN_COOKIE constant to wp-config.php. Step-by-step guide for white-label and custom setups.
Exclude specific pages from WP Ghost path rewriting using Whitelist Paths or the hmwp_process_init filter. Two methods for disabling WP Ghost on individual pages, post types, or URLs.
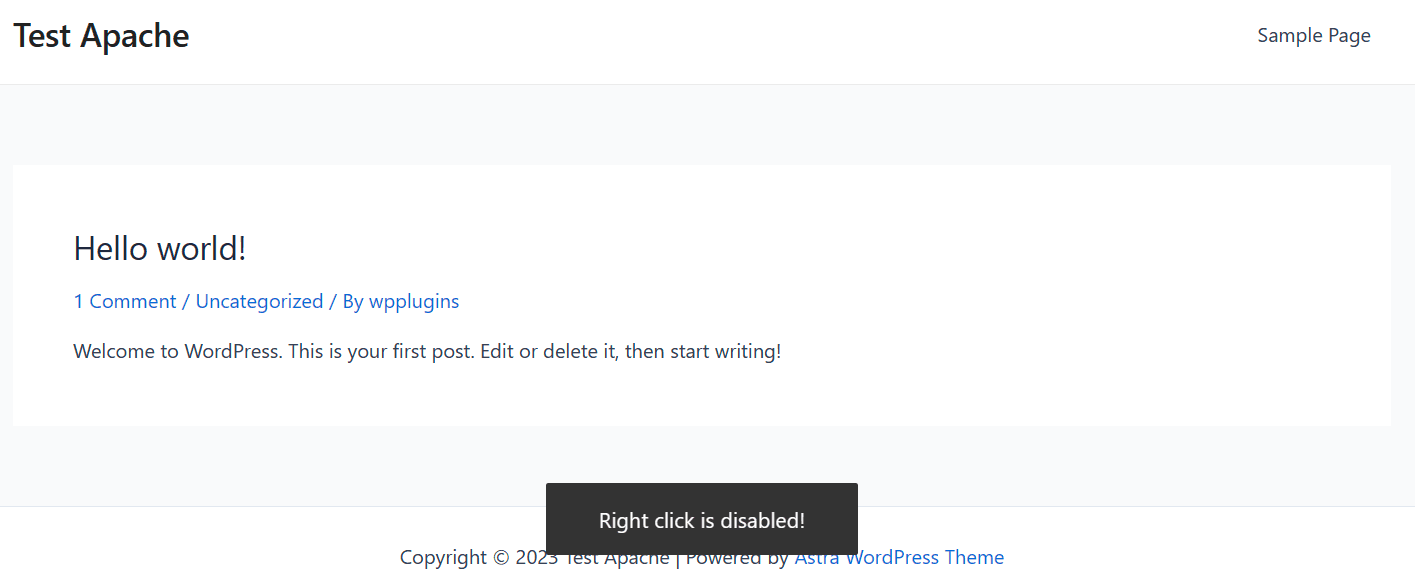
Customize WP Ghost’s Disable Right Click feature to allow right-clicking on specific pages using the hmwp_option_hmwp_disable_click filter. Works for Inspect Element, View Source, and Copy/Paste too.
If your Nginx server root is not writable, use WP Ghost’s hmwp_config_file filter to store rewrite rules in a custom location. Step-by-step guide with SSH commands.
Disable WP Ghost path security for administrators, editors, or any WordPress user role using a simple code snippet. Also covers IP whitelisting as a no-code alternative.
Automatically redirect logged-in WordPress users to the admin dashboard when they visit the custom login page. Enable it with one click in WP Ghost or use the hmwp_login_init hook.
Remove the WordPress DNS prefetch link (s.w.org) from your site header to eliminate a CMS fingerprint. Use WP Ghost’s one-click option or a manual functions.php filter.
Redirect all visitors to the WordPress login page to create a private, login-only website. Use WP Ghost built-in redirects, a template_redirect hook, or block subscribers from the dashboard.