
What is Flywheel?
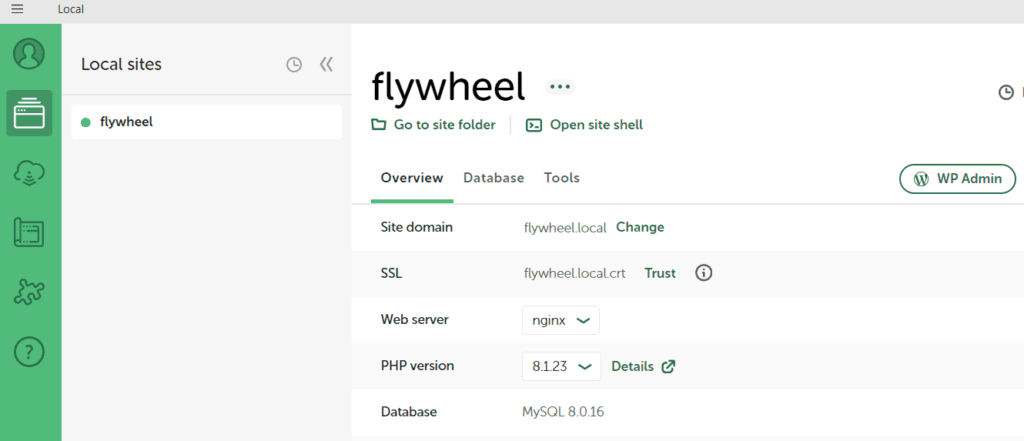
Local by Flywheel is a user-friendly local WordPress development tool that simplifies site creation and management on your local machine. It provides features like automatic WordPress installation, advanced development tools, and seamless site synchronization with cloud services.
Local By Flywheel is a Nginx/Apache based solution and it will require some extra setup after you install Hide My WP Ghost plugin on Nginx version.
Setup Hide My WP Ghost
Please follow this tutorial step by step to set up the Hide My WP Ghost for Local after you installed the plugin:
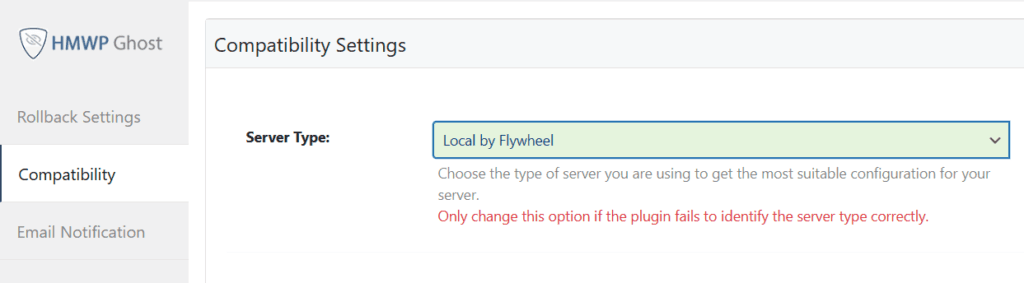
- First, go to Hide My WP > Advanced > Compatibility and select the server type as “Local by Flywheel” to identify the config path and setup.
- In your WordPress dashboard, go to Hide My WP > Change Paths
- Select the Safe Mode or Ghost Mode, scroll down and customize the paths as you like.

- Click the Save button to save the changes.
After the save process, you should receive a message with instructions to include the line in conf/nginx/site.conf.hbs file from the site folder.
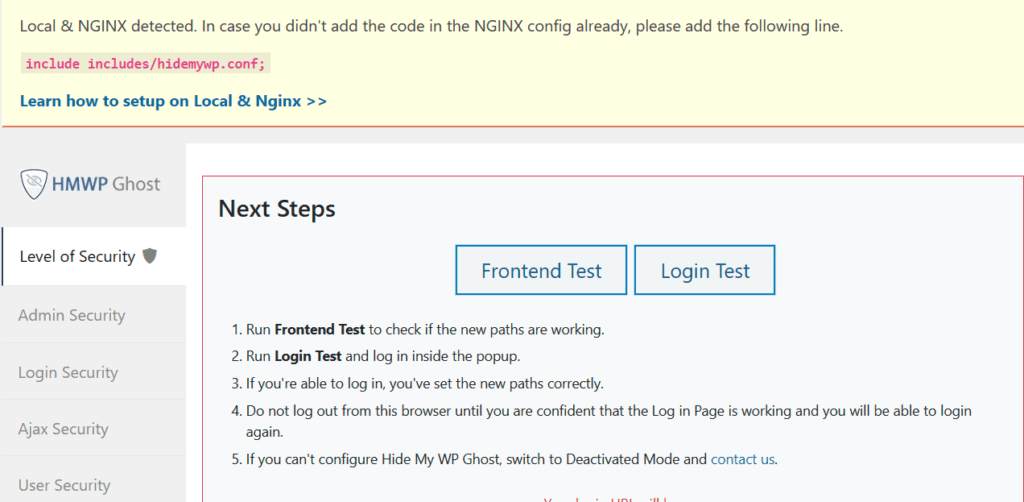
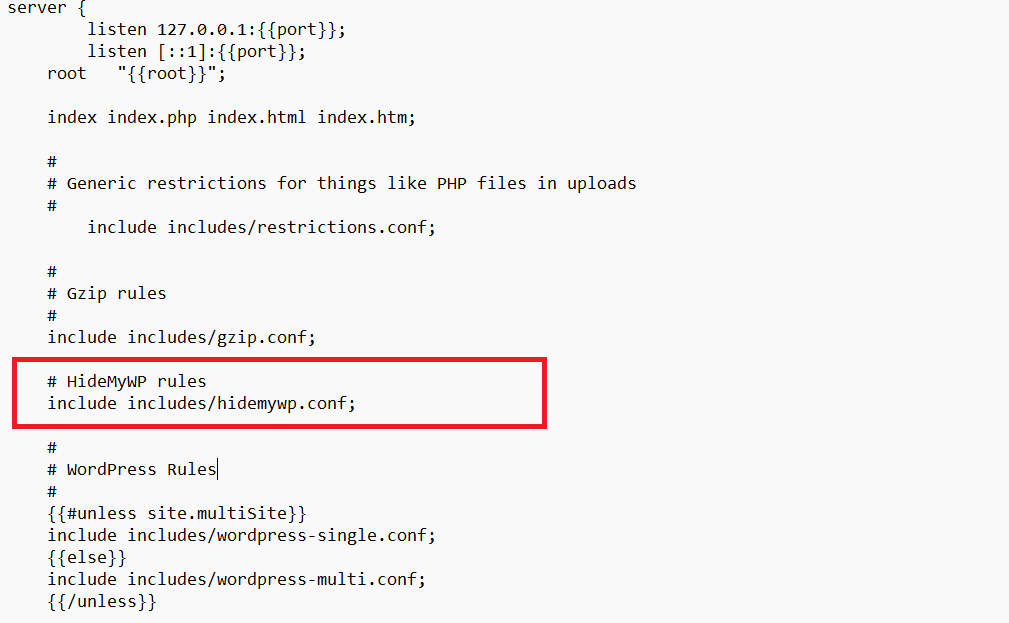
- Copy the line include includes/hidemywp.conf .
- Open the site folder and edit the file conf/nginx/site.conf.hbs .

- Add the line before the WordPress Rules like in the image below.
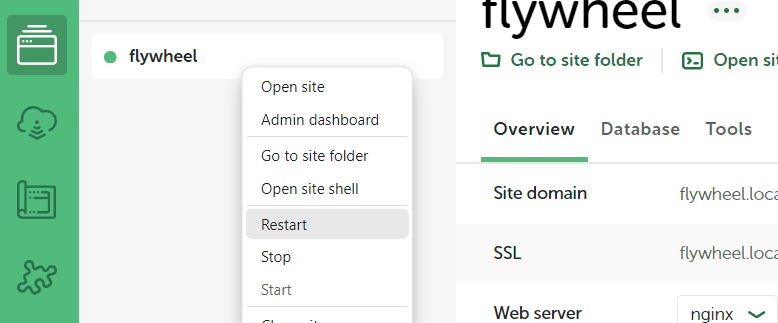
- Restart the server from your panel
- After the flywheel server loads, click the “Frontend Test” and see if the frontend is loading correctly. You can also check the website with a different browser or from incognito mode.
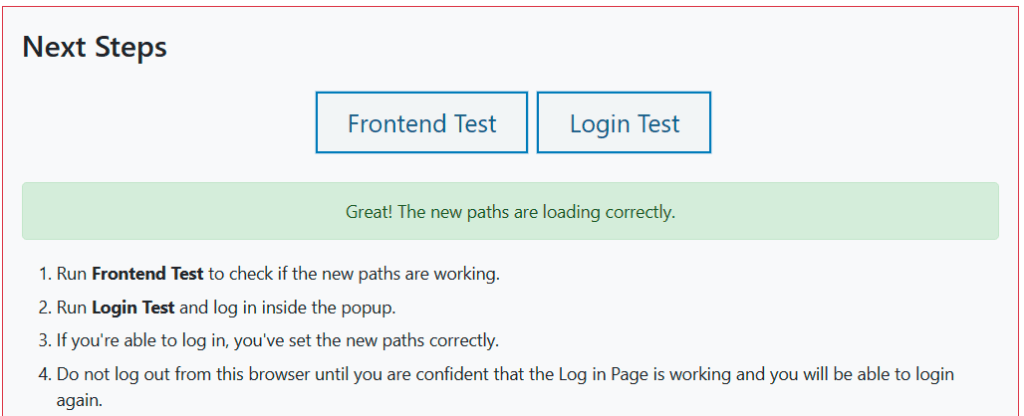
- If everything loads fine in Frontend, click the button “Yes, it’s working” button. Otherwise click on “No, abort” to roll back to previous settings.


